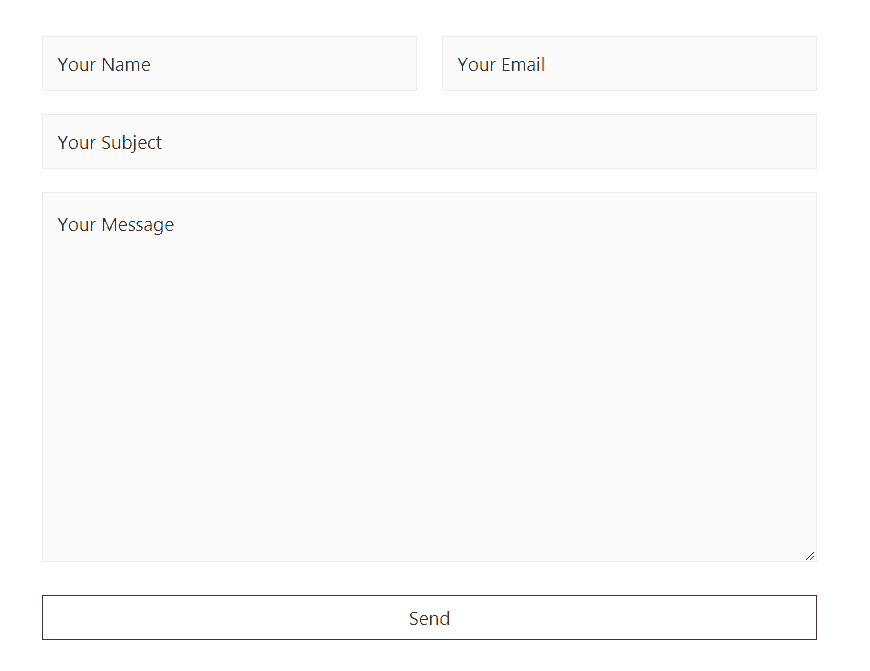
Many times users wish to add multiple form fields in column structure. This can be done by using a wrapper class.
The class you’ll be using for this is: “
You will need to use a parent wrapper with the above class name for every line you wish to insert. You will also need to enclose every Form element within a <span>tag.
For example –
For a 3 column layout:
<div class="uagb-cf7_styler-col">
 <span class="uagb-cf7_styler-col-1"> Field 1 </span>
 <span class="uagb-cf7_styler-col-2"> Field 2 </span>
 <span class="uagb-cf7_styler-col-3"> Field 3 </span>
</div>
For a 2 column layout:
<div class="uagb-cf7_styler-col">
 <span class="uagb-cf7_styler-col-1"> Field 1 </span>
 <span class="uagb-cf7_styler-col-2"> Field 2 </span>
</div>
Note: You can replace Field 1, Field 2, Field 3, etc with the field code of Contact Form 7. Such as :
<span>[text* your-name placeholder “Your Name”]</span>All this has to be done in the form you create using Contact Form 7. Here is a quick code that will help you understand how you implement the same.
<div class="uagb-cf7_styler-col">
<span class="uagb-cf7_styler-col-1">[text* your-name placeholder "Your Name"]</span>
<span class="uagb-cf7_styler-col-2">[email* your-email placeholder "Your Email"]</span>
</div>
<div class="uagb-cf7_styler-col">
<span>[text your-subject placeholder "Your Subject"]</span>
</div>
<div class="uagb-cf7_styler-col">
<span>[textarea your-message placeholder "Your Message"]</span>
</div>
<div class="uagb-cf7_styler-col">
<span>[submit "Send"]</span>
</div>
The above code was an example of the backend settings in Contact Form 7. Take a look at the screenshot below to see how it looks.
